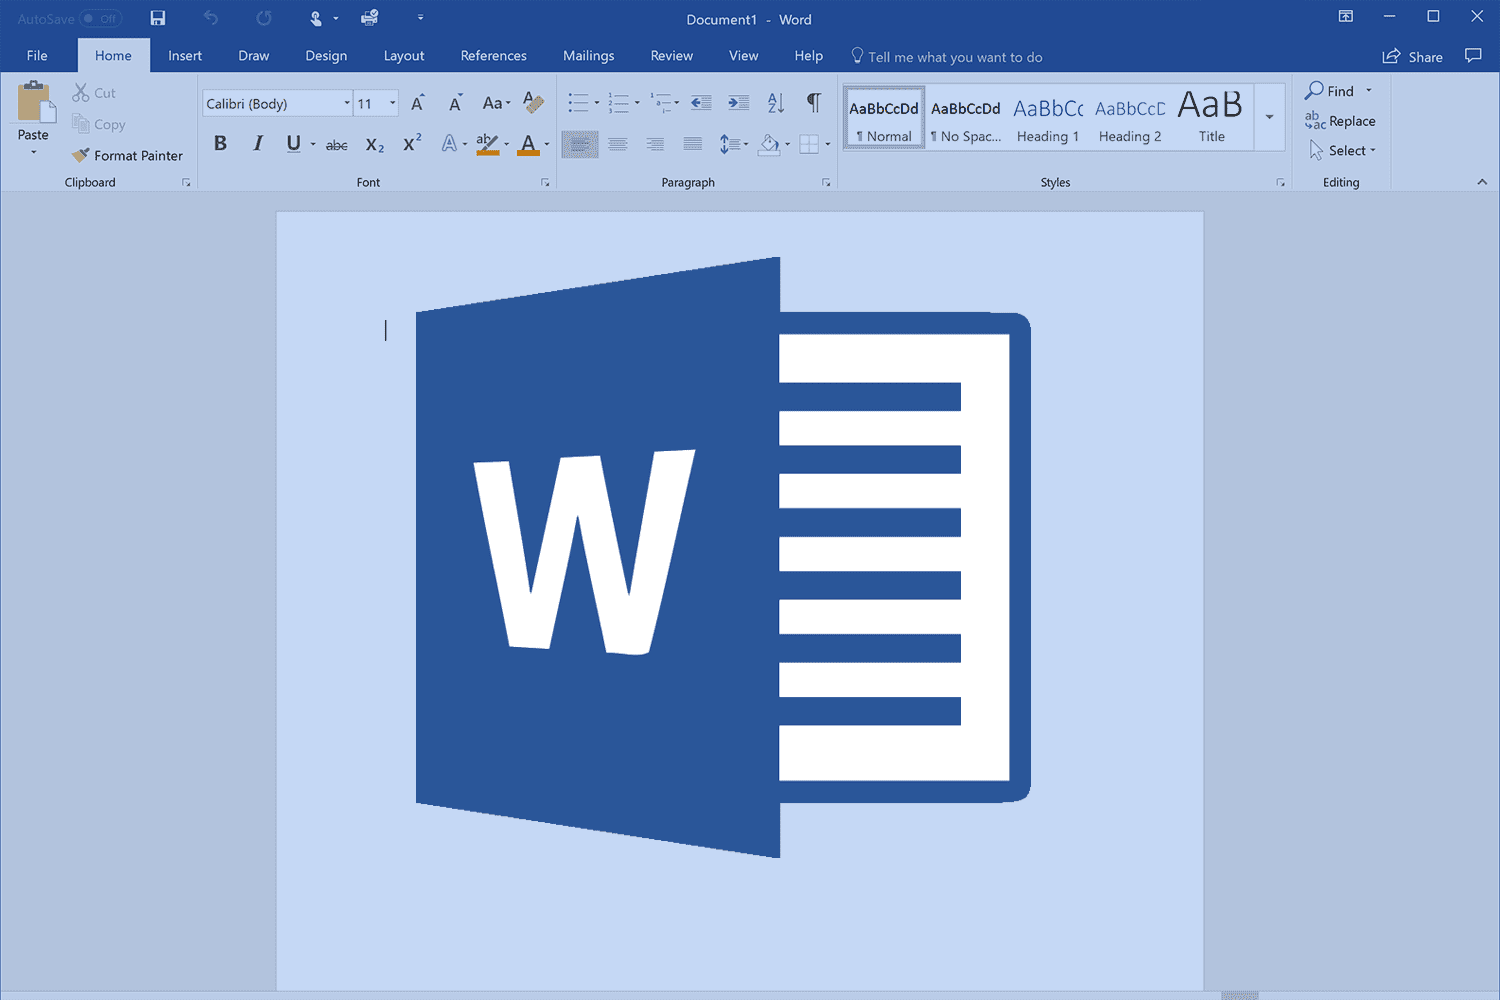
Below is a friendly, step-by-step guide on adding a picture to your resume in Microsoft Word. This guide explains why you might want to include a photo, how to do it in simple steps, and tips to make sure your resume looks neat and professional. I have also added a section with frequently asked questions and extra links for more help. Enjoy reading, and feel free to try these steps on your own resume!
Why Consider Adding a Picture?
A picture can add a personal touch to your resume and help you stand out in a crowded job market. A professional photo may give hiring managers a glimpse of who you are.
In some industries—especially creative or client-facing roles—a picture can be a useful addition. On the other hand, in certain regions or industries (like many jobs in the United States), a photo might not be expected. I always suggest doing a little research on your industry and location before deciding to add one.
A recent study by CareerBuilder found that a significant number of recruiters spend only a few seconds on a resume. A clean, well-organized resume with a small, well-placed photo might help guide their eyes and make a memorable first impression. Remember, your skills and experience are the main focus, but a well-chosen image can support your professional story.
Before You Insert a Photo
Before you add a picture, consider these points:
- Industry Norms: Check if your industry or region expects a photo. For example, jobs in modelling, design, or public relations might appreciate a professional headshot, while technical or corporate roles in some areas might prefer a text-only resume.
- Quality: Choose a high-resolution, recent photo. A clear, professional headshot works best. Avoid casual selfies or pictures taken in distracting environments.
- File Size: Adding a photo may increase your file size. If needed, compress the image using Word’s built-in tools to keep the resume easy to share.
How Do I Add a Picture in Microsoft Word?
Follow these simple steps to add a picture to your resume in Microsoft Word:
Just Before You Go
Empower individuals to overcome barriers, gain essential skills, and secure gainful employment through our proven programs—KeelMaster, KeelWings, and KeelMate. Your support can spark change and build brighter futures.
Donate Now1. Open Your Document.
Start by opening your resume file in Microsoft Word.
2. Insert the Picture.
- Click on the Insert tab located on the top toolbar.
- Choose Pictures. A menu will appear offering options such as “This Device” or “Online Pictures.”
- If your photo is saved on your computer, click This Device and select your file.
3. Place and Resize the Picture.
- Once the photo appears in your document, click on it to see small circles (handles) around the edges.
- Drag one of the corner handles to resize the picture proportionally. This keeps the photo from looking stretched or distorted.
- To move the image, simply click and drag it to the desired spot. I usually place my photo in the top right corner so it adds a personal touch without disrupting the flow of text.
4. Adjust Text Wrapping.
- With the picture selected, look for the layout options icon that appears next to the image. Click on it.
- Choose a wrapping style such as Square or Tight so the text flows neatly around the picture.
- If you need further control, right-click the picture and select Wrap Text to see all available options.
5. Fine-tuning the Layout.
- After inserting and adjusting your photo, take a moment to review the overall look of your resume. Make sure the picture does not overpower your text.
- You can always move the image to a different part of the page if you think it will fit better elsewhere.
- If your resume template already has a placeholder for a picture, simply click on the placeholder and replace it with your own image.
- For more detailed help on inserting and editing pictures, you can visit Microsoft’s official guide on adding or changing a picture in Word.
Tips for Choosing a Great Photo
A few ideas can help you choose the best photo for your resume:
- Dress Professionally: Wear clothes that match the dress code of the job you are applying for.
- Simple Background: Choose a plain background that does not distract from your face. Natural light usually works best.
- Recent and Clear: Your photo should be recent and high quality. A blurry or outdated picture might not create the right impression.
- Editing Tools: If you need to adjust your image before inserting it into Word, free tools like Canva can help you crop, resize, or apply light touch-ups.
Formatting Your Resume After Adding a Photo
After your photo is in place, it’s important to review your resume’s layout:
- Keep It Balanced: Ensure that your resume remains easy to read. The photo should complement your resume, not take attention away from your skills and experience.
- Try Different Placements: If you are not sure where to place the photo, try a few positions. The top right corner is common, but sometimes a centred layout works well for creative resumes.
- Print a Test Copy: If you plan to print your resume, a test print can help you see if the layout works on paper too.
I have found that a little extra time on formatting can make a big difference in the overall look and feel of your resume.
Additional Resources
Here are a few extra resources if you’d like to learn more or get ideas for your resume:
- Microsoft Office Templates: Check out Microsoft’s resume templates for ideas on layout and design.
- Resume Builders: Websites like Resume.io offer free and paid templates that might spark ideas for your resume.
- Career Advice: For more tips on crafting a strong resume, CareerOneStop provides useful guides and advice.
Frequently Asked Questions
Is it a good idea to add a photo to my resume?
It depends on the job and the industry. In creative fields or jobs where personal branding matters, a photo can help. In more conservative fields, it might be best to leave it out.
How do I resize the picture in Word?
Click on the picture and drag one of the corner handles to make it smaller or larger. This keeps the picture’s proportions correct.
Can I insert an image directly from the internet?
Yes, Word allows you to use the Online Pictures option. Just be sure the image is professional and that you have permission to use it.
Will a picture increase the file size of my resume?
Yes, it can add to the file size. If needed, use the compress picture tool found in the Picture Format tab to reduce the size.
Conclusion
I hope this guide helps you add a picture to your resume in Microsoft Word in a clear and friendly way. Every detail in your resume matters, and a well-placed photo can add a personal touch that helps you stand out.
Take your time to experiment with different layouts until you find one that fits your style and keeps your resume neat. Have you thought about how a simple photo can make your resume more memorable? How To Put Picture In Resume Microsoft Word?
Just Before You Go
Empower individuals to overcome barriers, gain essential skills, and secure gainful employment through our proven programs—KeelMaster, KeelWings, and KeelMate. Your support can spark change and build brighter futures.
Donate Now


