When I first started building my resume, I felt overwhelmed by all the choices and tools out there. I remember thinking, “How can I make a resume that stands out and looks professional without spending hours learning complicated software?”
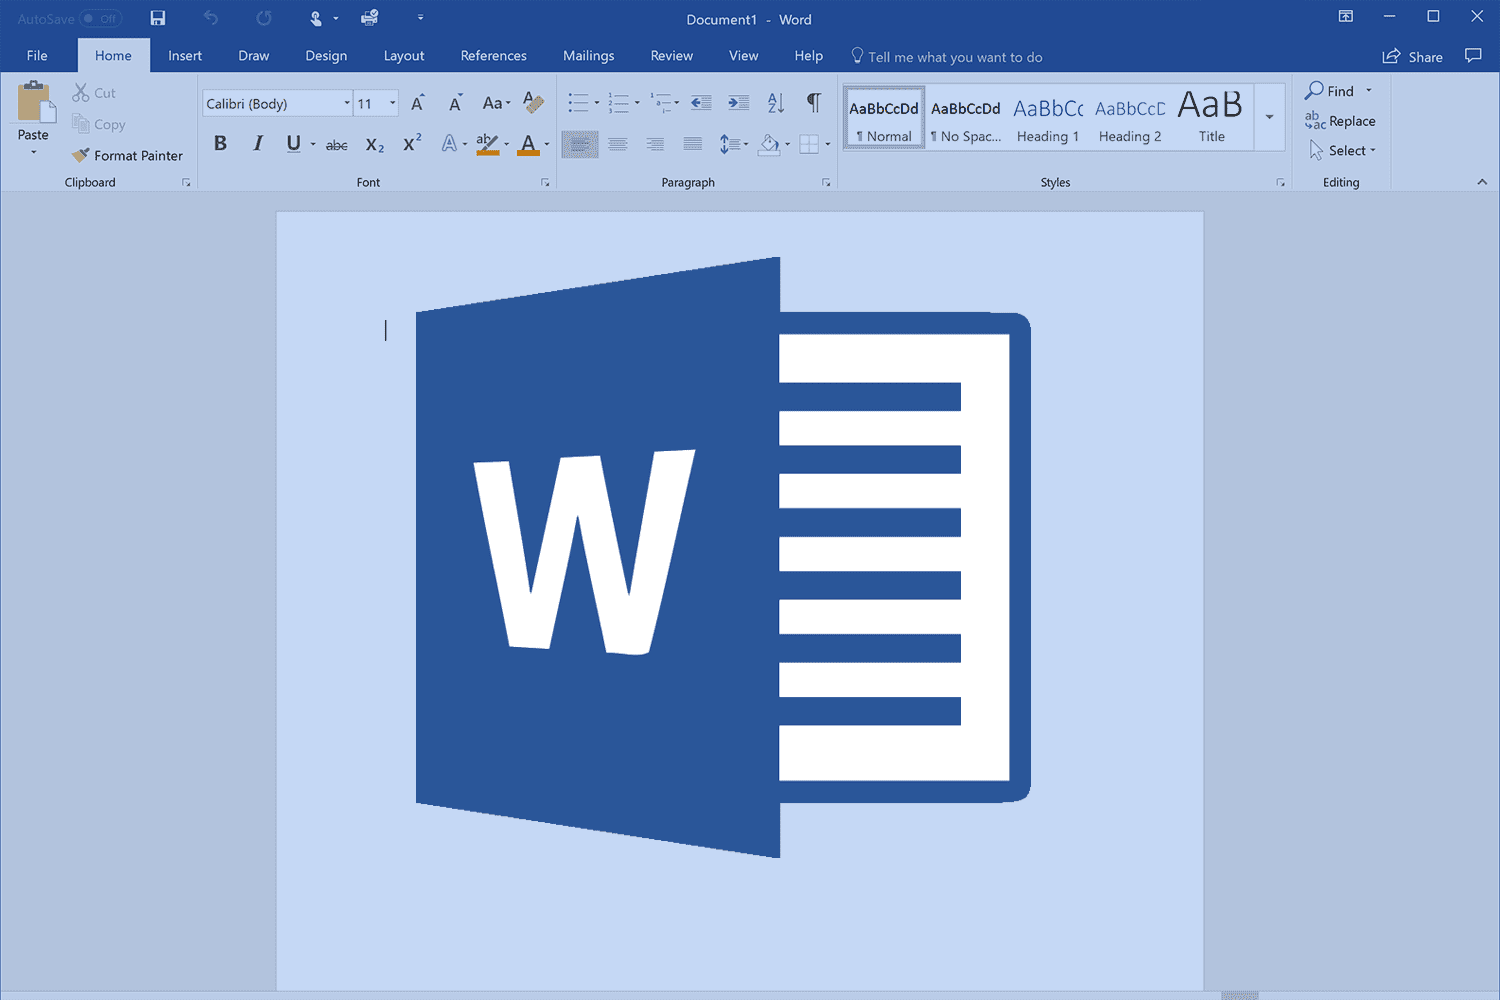
This feeling is something many of us share. I discovered that Microsoft Word, a tool I already had on my computer, could be the perfect solution.
Today, I want to share my experience and tips on how to create an impressive resume in MS Word. I believe this guide will help you create a resume that tells your story clearly and engagingly.
The Importance of a Great Resume
A resume is more than just a list of your experiences and skills—it’s your personal introduction to potential employers. In fact, according to a survey by Jobscan, recruiters spend about 6 seconds reviewing a resume before deciding if a candidate is a good fit (source).
This means that having a clean, well-organized resume is crucial. MS Word offers many built-in features and templates that make it easier to create a professional document. By using MS Word, you can save time and effort while ensuring your resume is visually appealing and easy to read.
Step-by-Step Guide to Making a Resume in MS Word
1. Choosing the Right Template
One of the best features of MS Word is its range of templates. Templates help me start with a strong layout without having to design from scratch. To access these templates, I simply open MS Word, click on “File,” then “New,” and type “resume” into the search bar. I choose a template that matches my style—whether I want something simple and modern or a layout with a bit more design flair.
Just Before You Go
Empower individuals to overcome barriers, gain essential skills, and secure gainful employment through our proven programs—KeelMaster, KeelWings, and KeelMate. Your support can spark change and build brighter futures.
Donate NowTip: Look for a template that matches the industry you’re applying to. For example, a creative field might appreciate a more visually engaging resume, while a corporate role might need something more understated.
2. Customizing the Template
After choosing a template, the next step is customization. I start by replacing the placeholder text with my personal information. Here are some key sections I include:
- Contact Information: Your name, phone number, email address, and LinkedIn profile link.
- Professional Summary: A short paragraph that highlights your key skills and what you bring to the table.
- Work Experience: List your jobs in reverse chronological order. Focus on achievements and responsibilities.
- Education: Include your degree, the institution’s name, and graduation year.
- Skills: Add relevant skills that match the job description.
- Additional Sections: Depending on your background, you might add sections for certifications, volunteer work, or projects.
I make sure to adjust the fonts, colors, and spacing to match my personal brand. MS Word allows me to use various fonts and formatting options that can help draw attention to important sections. Remember, consistency is key—using the same font and style throughout creates a professional look.
3. Adding Content with Clarity
When I write the content for my resume, I keep it clear and concise. Here are some tips that have helped me:
- Use Action Verbs: Start bullet points with words like “managed,” “developed,” or “implemented” to show your achievements.
- Quantify Your Achievements: Numbers can make your accomplishments more tangible. For instance, “increased sales by 20%” is more impactful than just “increased sales.”
- Tailor Your Resume: Customize your resume for each job application. Look at the job description and adjust your skills and experiences accordingly.
- Keep It Simple: Avoid long paragraphs. Bullet points help in making your resume easier to skim.
4. Formatting for Readability
A resume should be easy to scan. I pay attention to formatting details to ensure my resume is readable:
- Headings: Use bold or a larger font size for section titles.
- Spacing: Adequate white space makes the document less crowded. I use a line spacing of 1.15 or 1.5 to keep things clean.
- Alignment: Consistent alignment of text and bullet points improves the overall appearance.
- Margins: I stick to standard margins (usually 1 inch) to ensure nothing is cut off when printed or viewed on different devices.
5. Proofreading and Final Touches
Once I finish my resume, I take the time to proofread it. I often ask a friend or a career advisor to review it, as a fresh pair of eyes can catch errors that I might have missed. It’s important to check for typos, grammatical mistakes, and formatting issues. MS Word’s spell check and grammar check tools are very useful for this step.
Tip: Reading your resume aloud can also help you catch awkward phrases or run-on sentences.
FAQs
Do I need to know advanced MS Word features to create a resume?
Not at all. The built-in templates and simple formatting tools in MS Word make it easy for anyone to create a professional resume without advanced skills.
Can I use MS Word on any device?
MS Word is available on both Windows and Mac computers, and there’s also an online version through Office 365. This makes it accessible no matter what device you have.
How do I save my resume for job applications?
It’s best to save your resume as a PDF to preserve the formatting. In MS Word, you can do this by going to “File,” then “Save As,” and selecting PDF as the file type.
Are there any free resume templates outside of MS Word?
Yes, there are many free templates available online. Websites like Canva and Indeed offer a variety of designs that you can use or adapt in MS Word.
Further Resources
If you want to dive deeper into creating resumes and exploring MS Word’s features, here are some resources I find really helpful:
- Microsoft Office Support: Official MS Word Resume Tips – A great starting point for learning about MS Word templates and customization.
- LinkedIn Learning: Resume Writing Courses – Offers video tutorials and expert advice on resume writing.
- Indeed Career Guide: How to Write a Resume – Tips and examples to help you craft your resume.
- Canva: Free Resume Templates – For more creative layouts and designs that you can adapt in MS Word.
Conclusion
Building your resume in MS Word is a simple process that can make a big difference in how you present yourself to potential employers. By choosing a template, customizing it to reflect your personality, and carefully reviewing your work, you can create a resume that stands out. I’ve shared my personal tips and strategies to help you feel confident in using MS Word for this important task.
Before you dive into creating your resume, take a moment to think about the impression you want to leave on your future employer. What elements of your personality and skills do you want to shine through? How can you best represent your professional journey on one page?
I’m curious—how will you bring your unique story to life using MS Word?
Just Before You Go
Empower individuals to overcome barriers, gain essential skills, and secure gainful employment through our proven programs—KeelMaster, KeelWings, and KeelMate. Your support can spark change and build brighter futures.
Donate Now


